

Before you begin
- Have a Running Cloud Agent.
- In the dashboard, confirm that Library > Channels shows the messaging provider you want to use.
- Choose a Clawdi bot, or prepare your own bot credentials for a custom connection.
Steps
1
Choose a bot
Open Library > Channels in the Clawdi dashboard.
Choose a bot under Clawdi bots. To use your own, choose Add channel
and complete the requested setup; it appears under Custom bots.
For a custom WhatsApp account, use a dedicated number.
2
Link it to the Agent
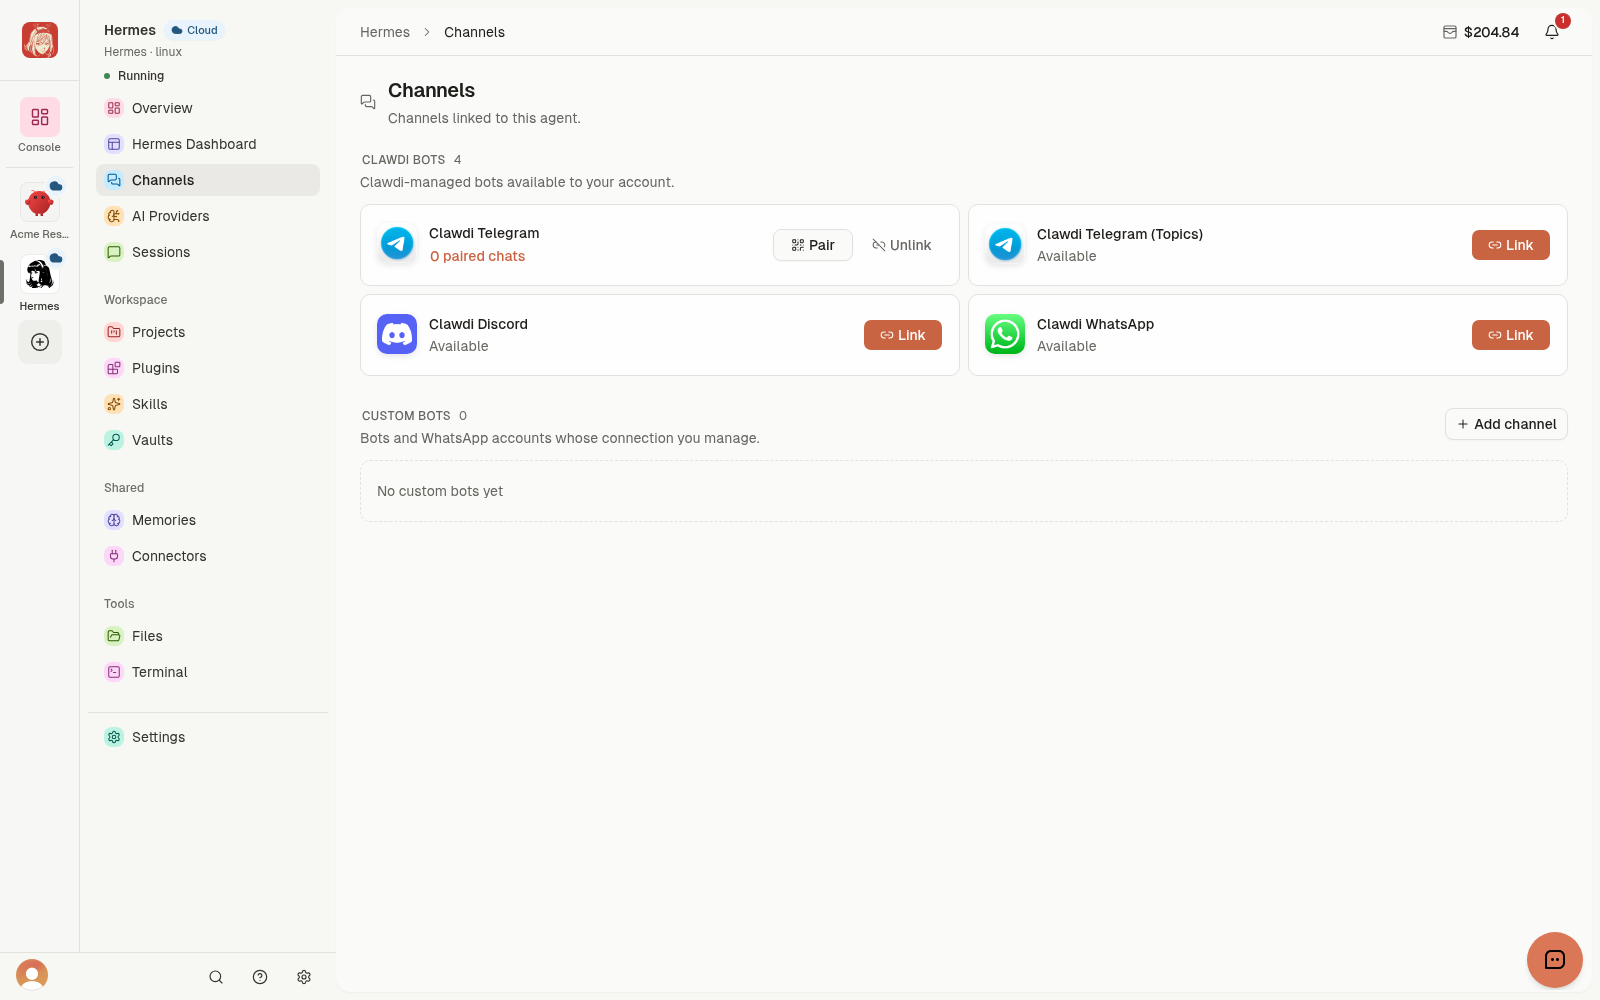
Open the Cloud Agent’s Channels, choose the bot, and select Link.
The bot row now offers Pair and Unlink.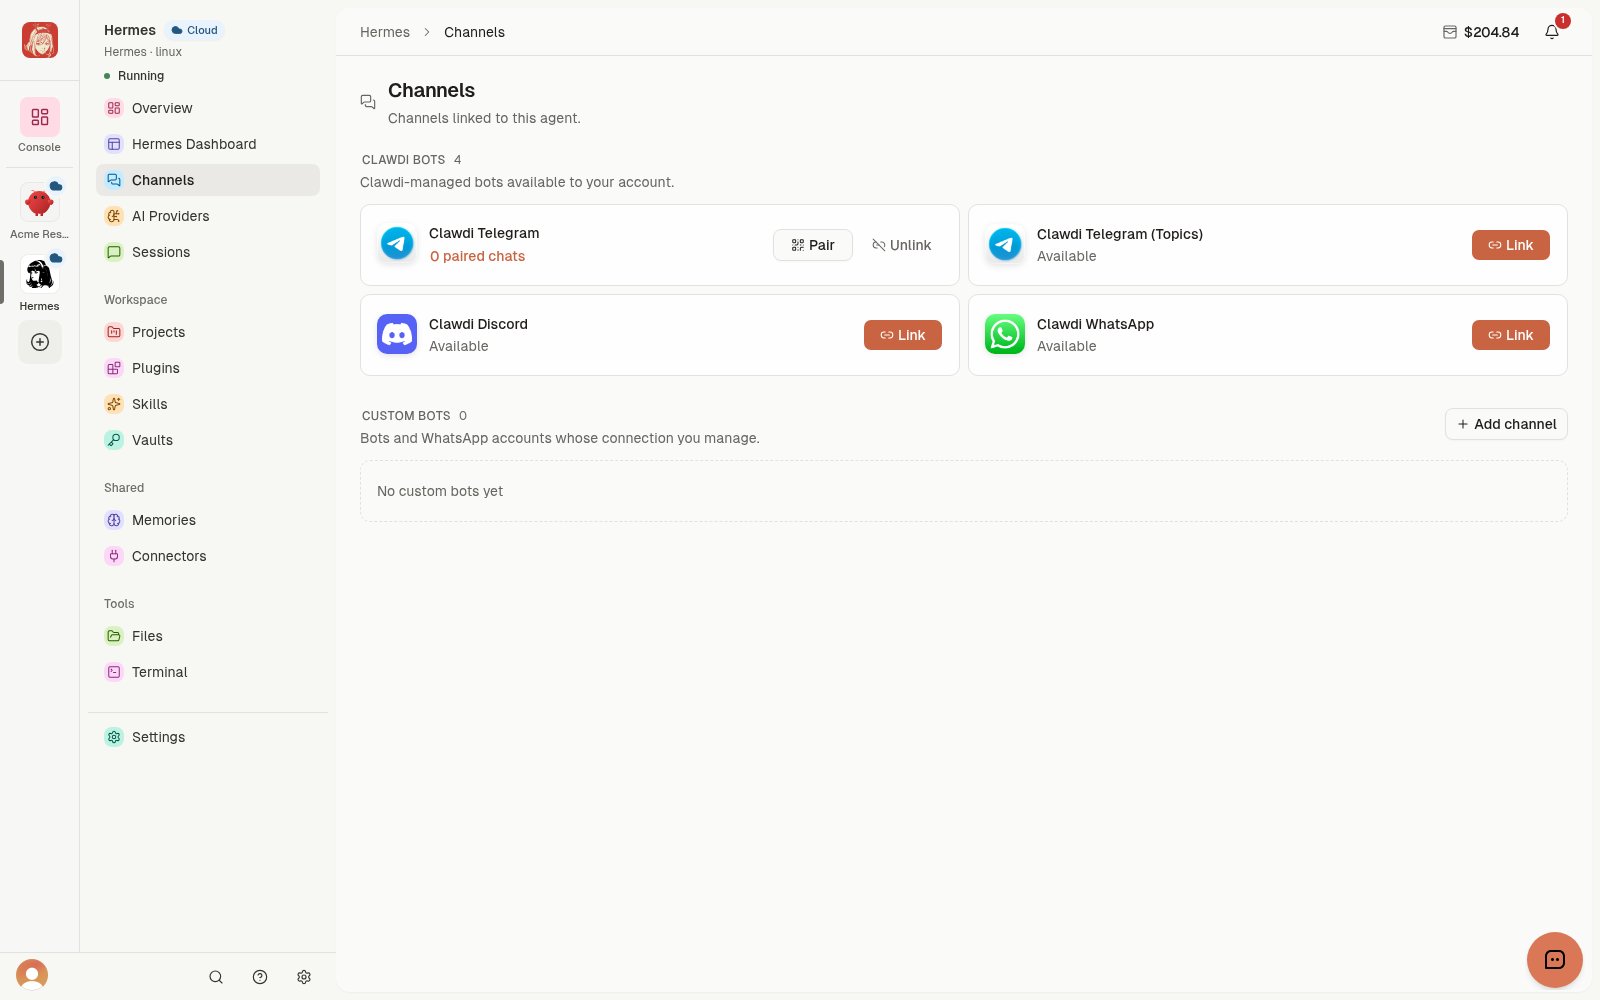
3
Pair one chat
Choose Pair and follow the current QR code,
link, command, or code shown by the dashboard. If a pairing code expires,
generate a new one instead of reusing it.
4
Send a test message
Send a harmless message from the paired chat. Confirm that the chat appears
beneath the linked Channel and review Activity and Health on the
Channel page.
The bot is linked to the intended Cloud Agent, the external chat is paired,
and a test message appears in Channel activity without an error.