

Before you begin
- Both people need Clawdi accounts.
- Create or choose a Custom Project. Automatically created Global and Agent Projects cannot be shared.
- Review every Vault attached to the Project before inviting anyone.
Steps
1
Open the Project
In the Clawdi dashboard, open Library >
Projects and select the Custom Project you want to share.
2
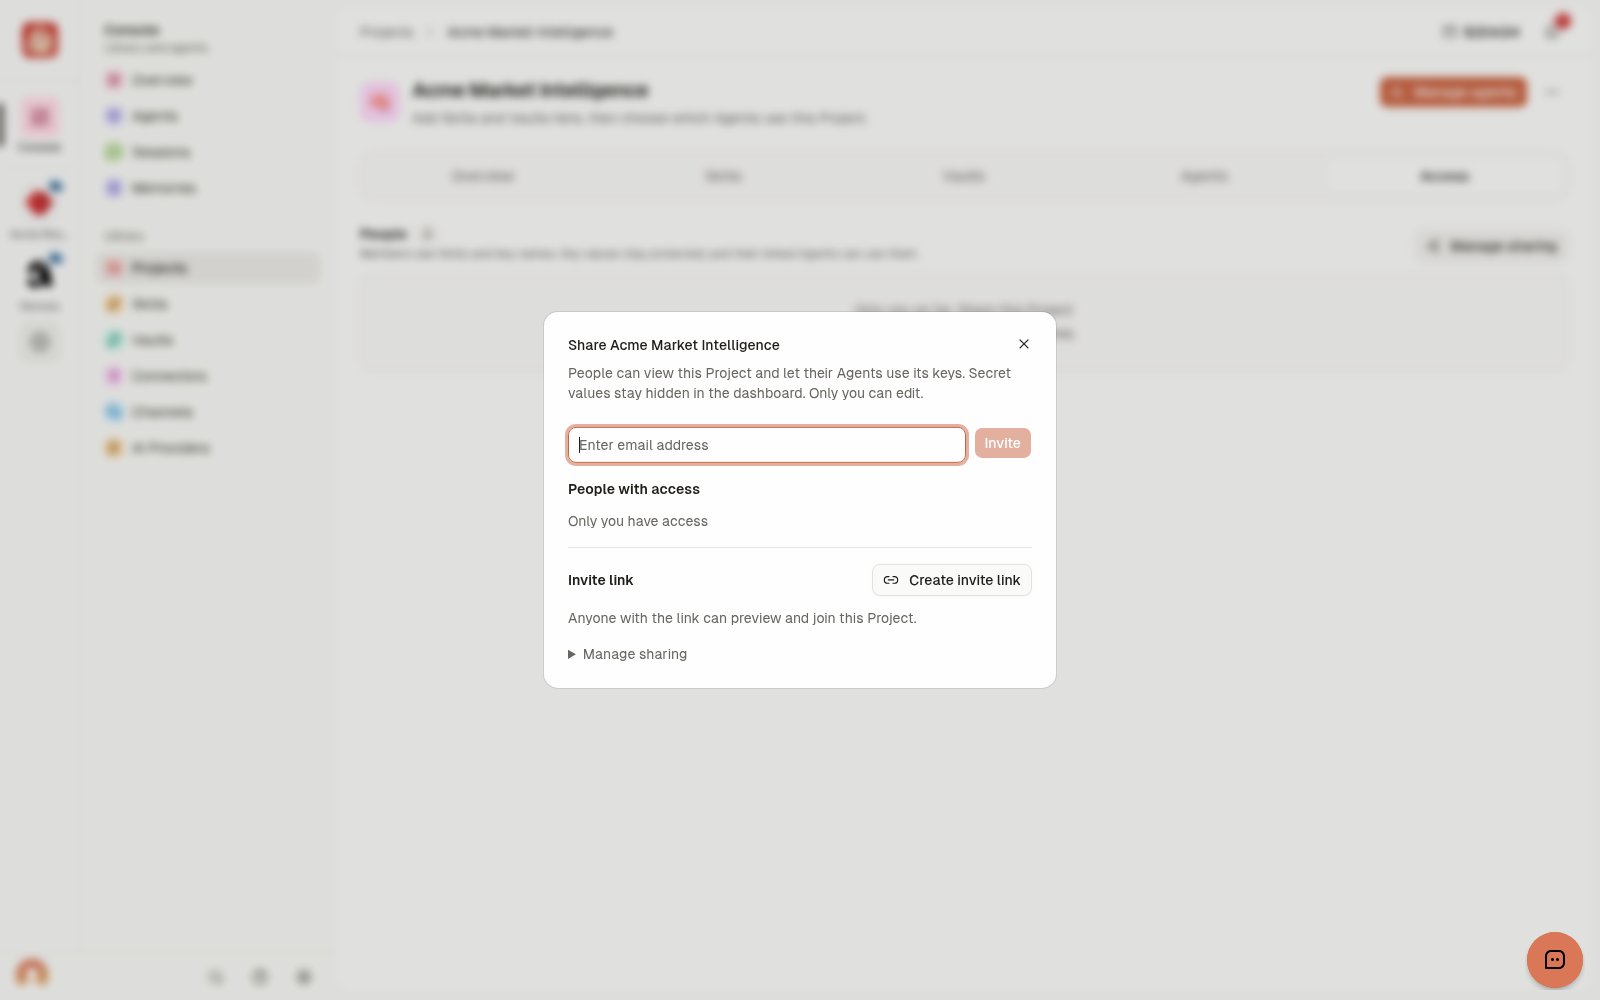
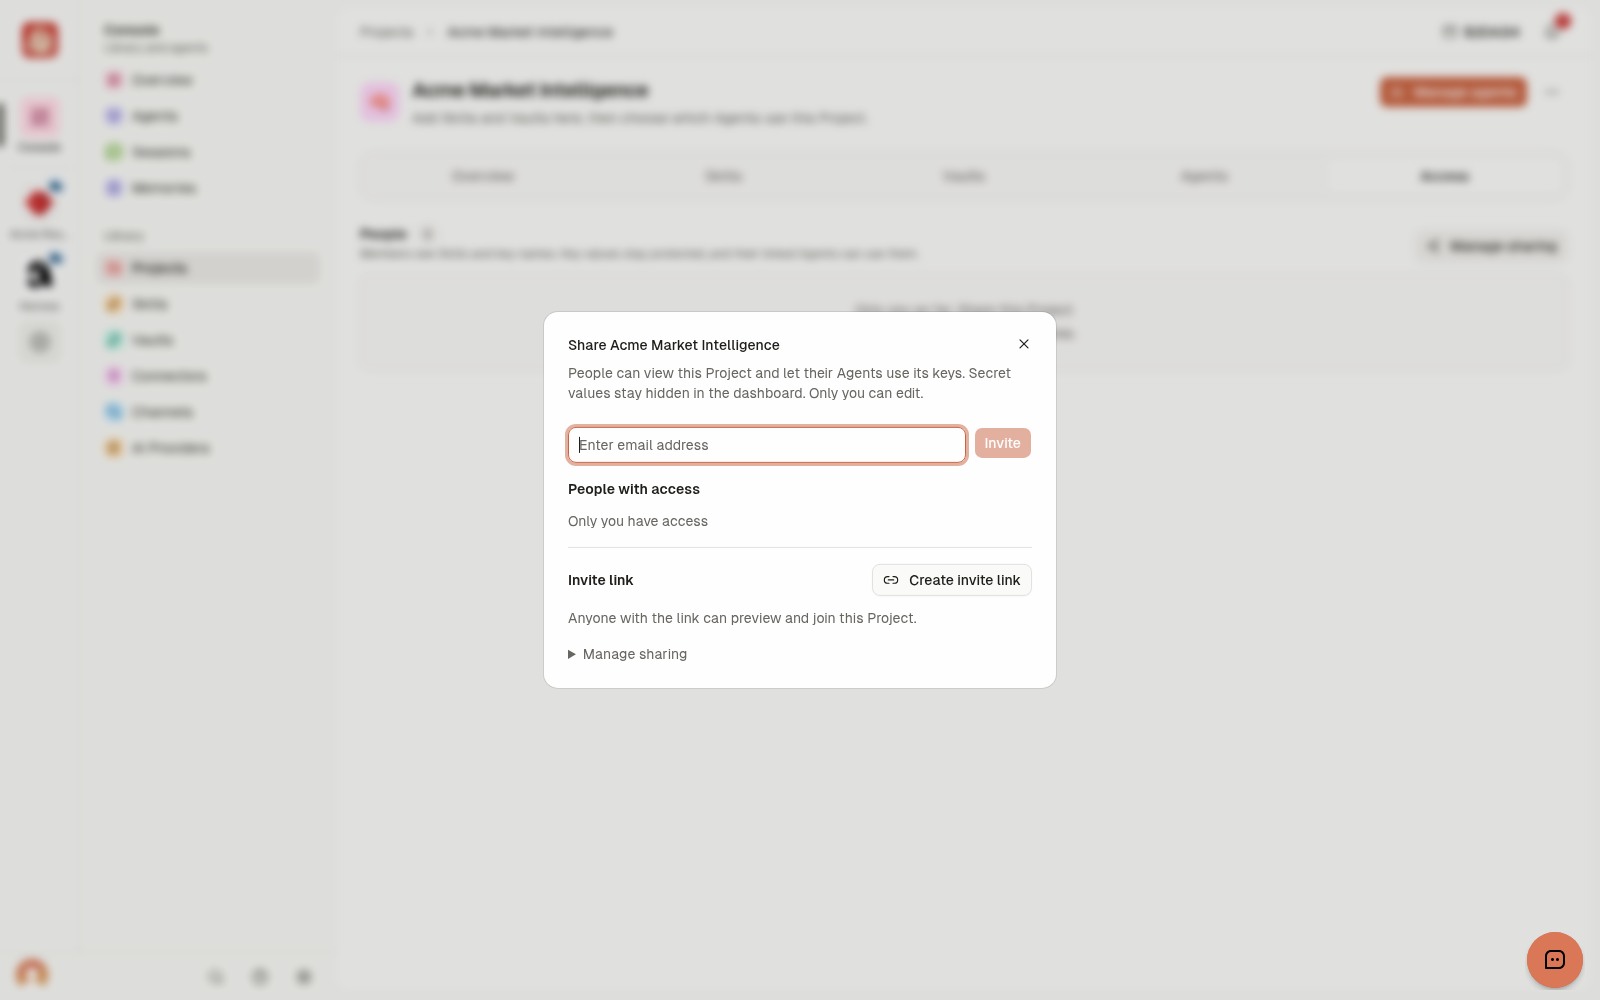
Invite the teammate
Open Access > Manage sharing, enter the teammate’s email, and choose
Invite. Review the recipient before sending.
3
Accept and review access
The teammate signs in, accepts the invitation from the top-right
Notification Center, then opens the Project from their dashboard. They
should review its Skills and Vault access before using it.
4
Add the Project to an Agent
The teammate opens the intended Agent’s Projects section, finds the
accepted Project, and chooses Link. Project membership and Agent
access each require this explicit choice.
The teammate can open the shared Project as a Viewer, and the Project appears
in the selected Agent’s linked Projects.