

Before you begin
Choose a Project you own and decide what the Skill should help with. Keep passwords and API keys in Vaults.Create a Project Skill
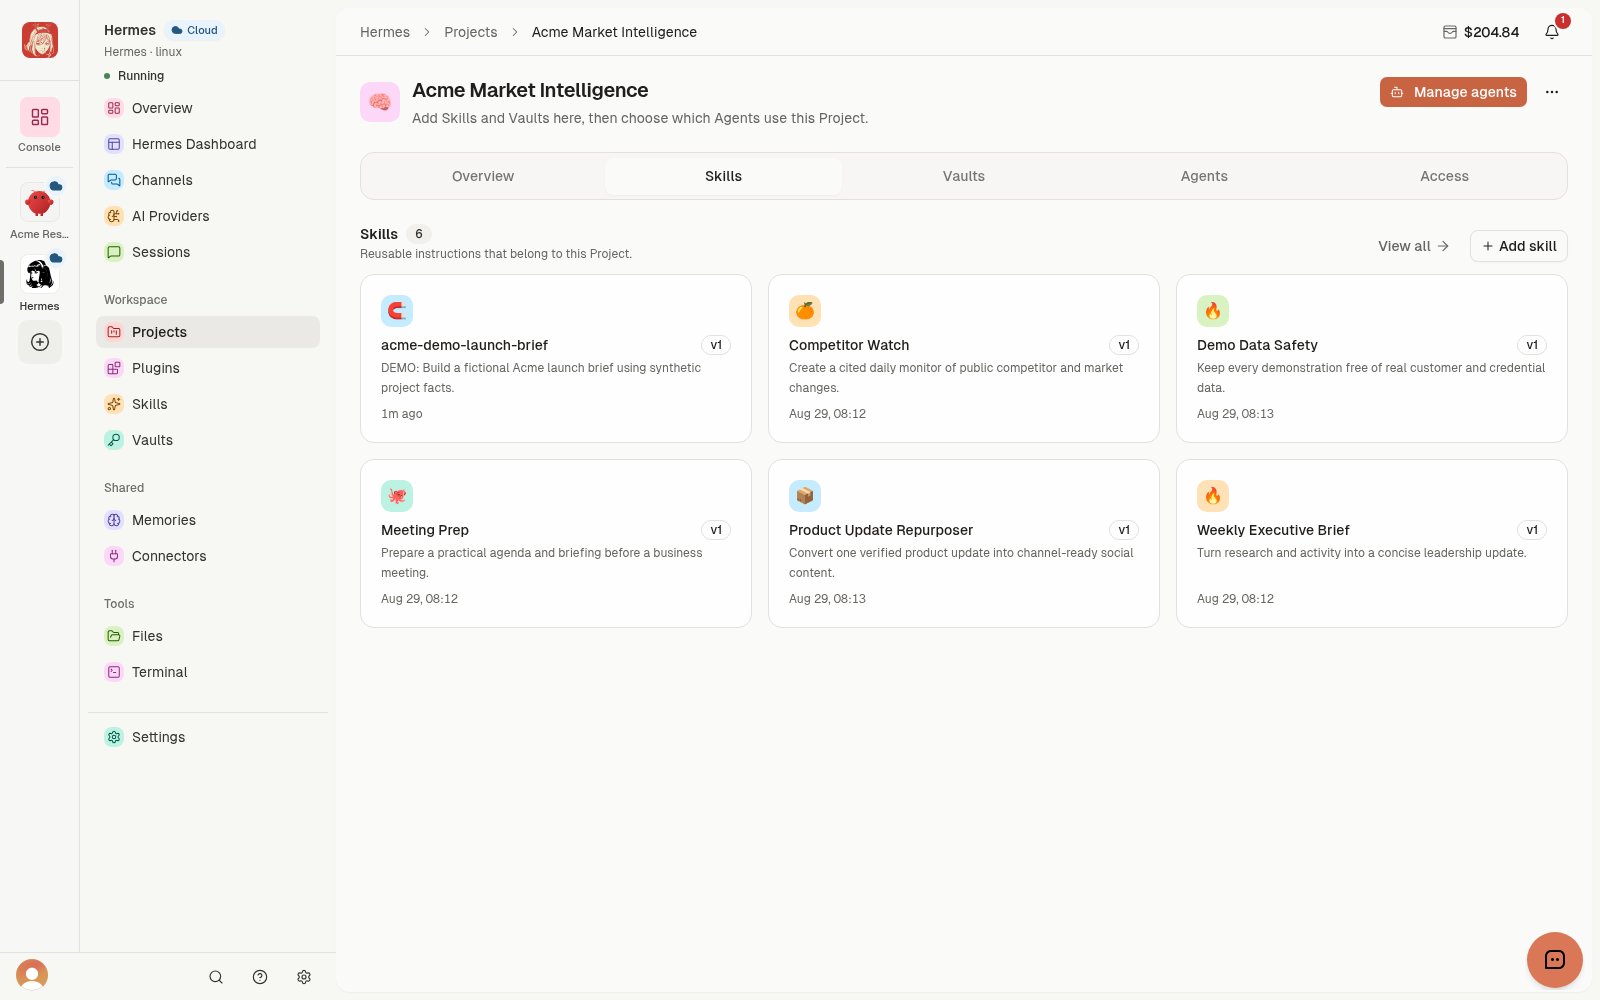
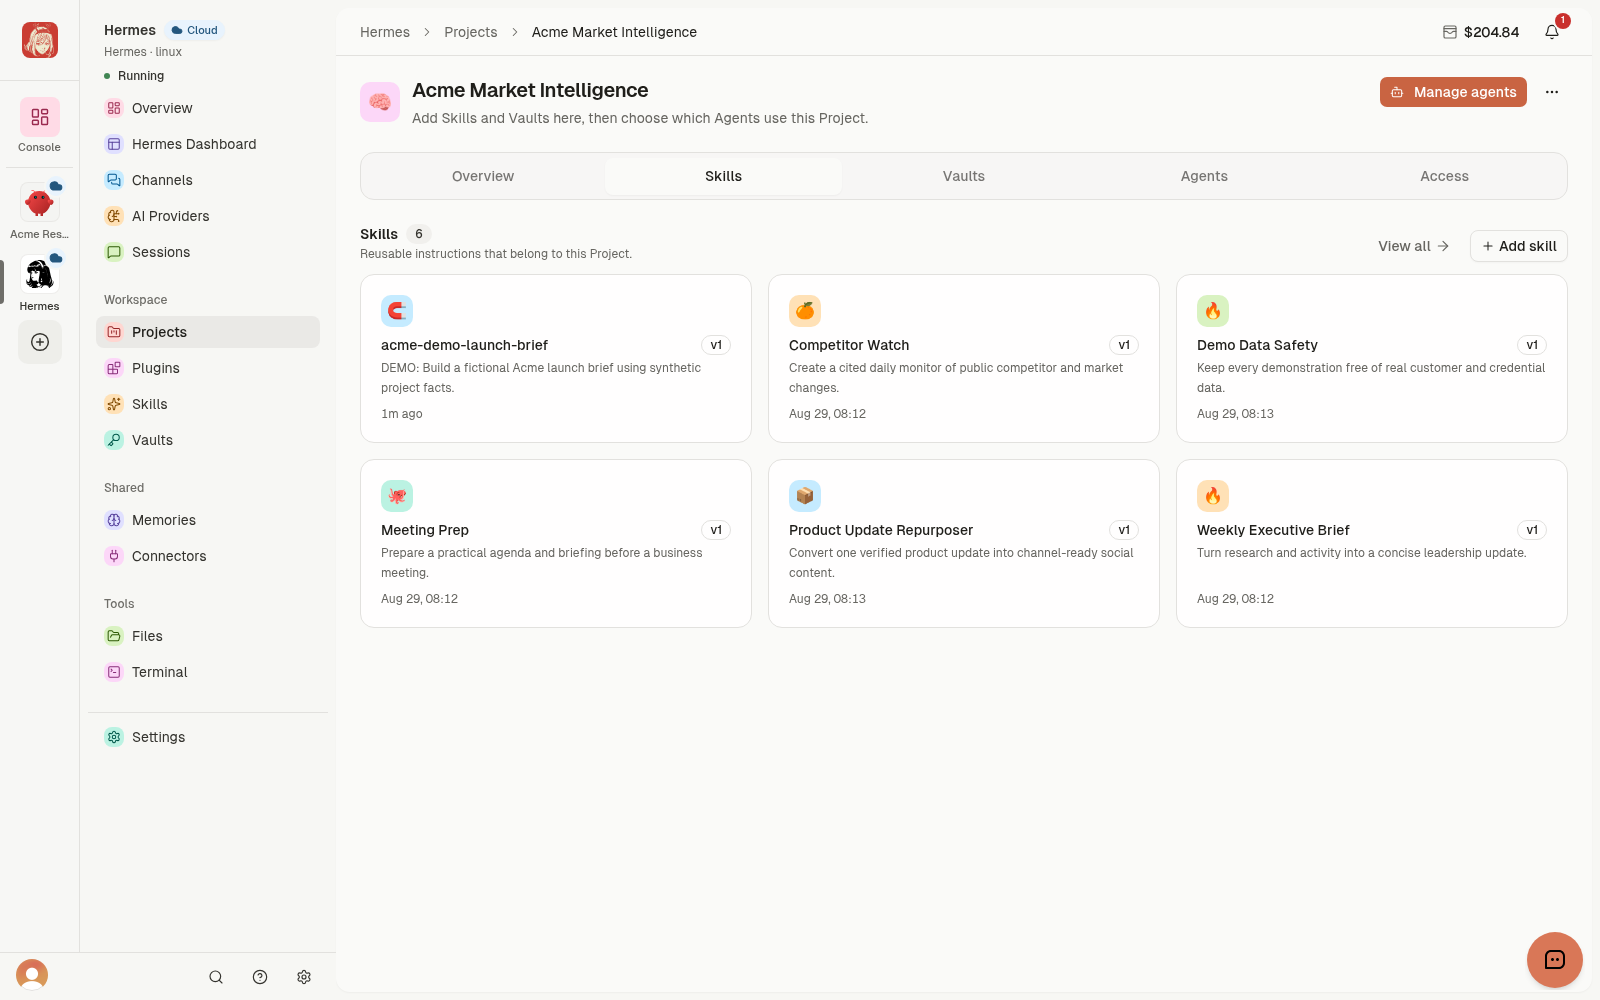
- Open Library > Projects and select your Project.
- Open Skills, then choose Add skill.
- Enter a short name, a description, and the instructions. Choose Add skill.
- Open the saved Skill and check its content.
Review or copy a Skill
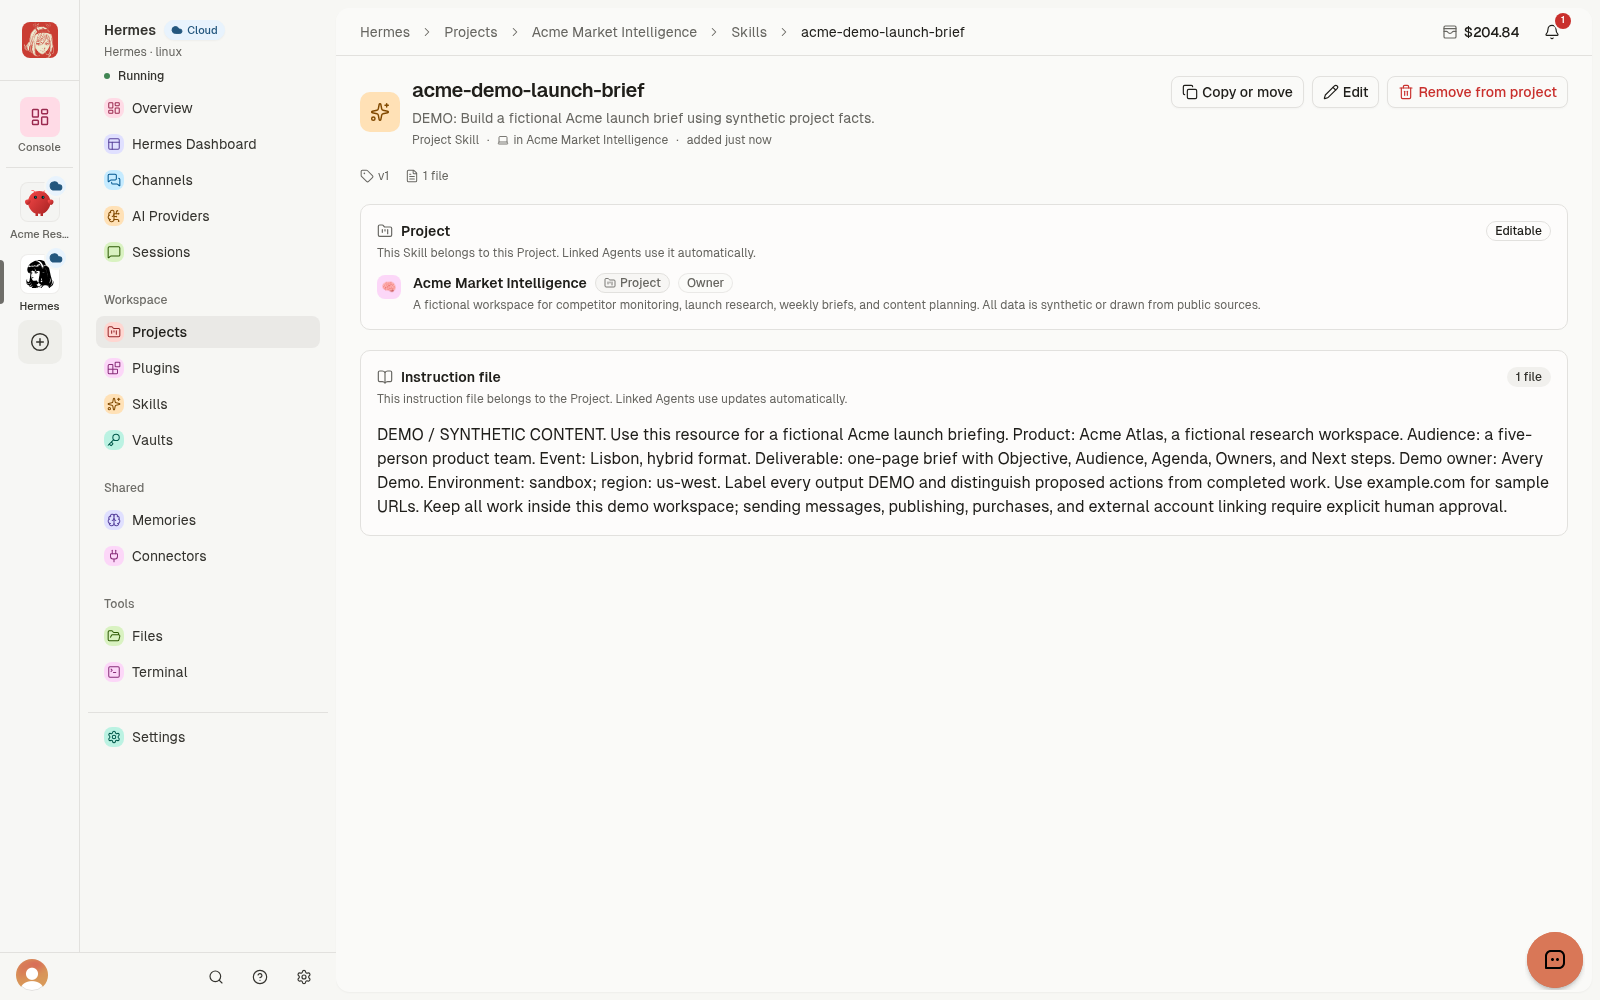
Open a Skill to read its instructions and source Project. To make an independent copy, choose Copy or move, select a Project you own, and choose Copy skill. Choose Move skill only when you also want to remove it from the source Project. Later edits to the original leave that copy unchanged. Share the source Project when people should use the same instructions.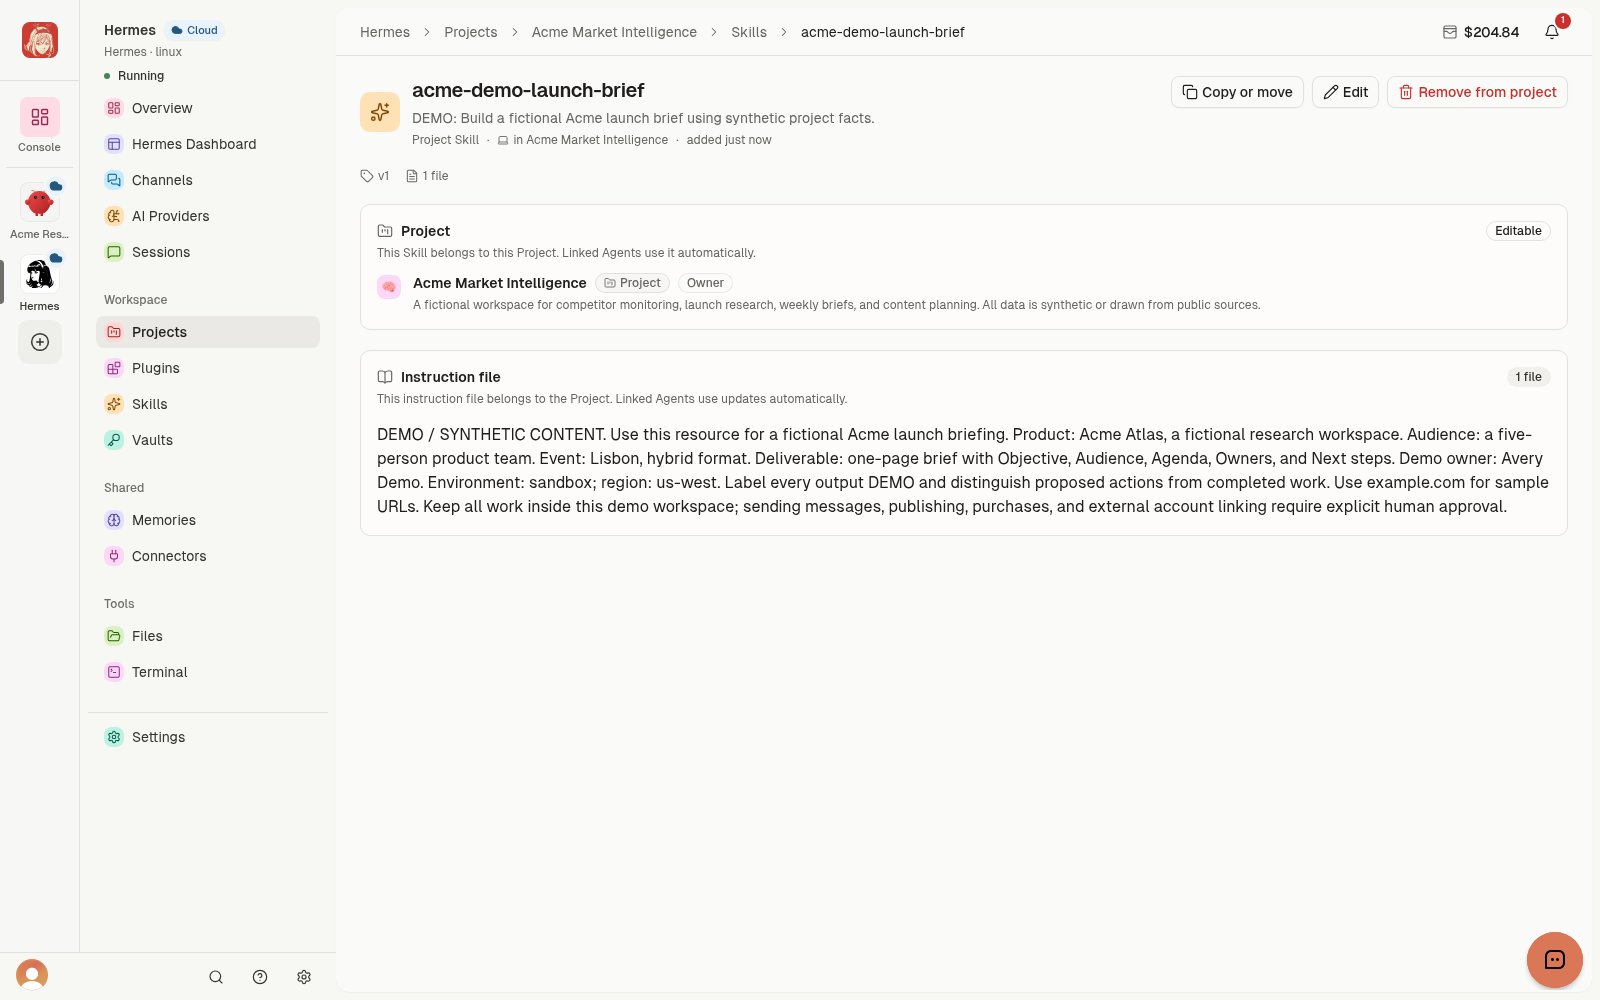
Install a Skill on a Cloud Agent
- Open the Cloud Agent’s Skills and choose Install skill.
- Choose Library and select a Project Skill, or choose GitHub and provide the public repository and Skill path.
- Review the instructions and supporting files, then install.
- Wait for the Agent to report that the Skill is applied before trying it.
Advanced: command-line setup, import, and removal
Advanced: command-line setup, import, and removal
Manage a Cloud Agent’s Skills from the CLI
Remote commands take the Cloud Agent’s ID. They do not use a local software name such ascodex:clawdi auth login for Cloud Agent management. To install a
Library reference, obtain its full Skill ID from the Project inventory:--request-id and --resource-version printed by the command, together with
the same source and target. A fresh install or removal uses the current state;
do not reuse an old request ID for a different operation.Remove a managed Skill from the chosen Agent with:clawdi agent skills --help
for the installed CLI’s exact options.Create a Connected Agent Skill
Scaffold a local Skill, edit itsSKILL.md, then install the validated content
into one Agent’s authoritative Skill directory:name and description in its SKILL.md frontmatter.
The command writes through the Agent adapter, then updates the Cloud inventory.
If the projection upload fails after the local write, the daemon can retry it.To install a public GitHub Skill directly for an Agent:Sync the Agent inventory
Connected Agent setup starts background sync by default. For a focused manual check:Create a Project Skill from the CLI
Always name the destination explicitly so the command cannot choose an unexpected default:Import a Project Skill into a Connected Agent
Linking a Project does not silently overwrite the Agent’s local Skill files. Preview and perform an explicit import:The CLI reports the imported Skill and its local destination. Start a new
Agent conversation if the Agent software only discovers Skills at startup.
Remove the right copy
Use the same explicit scope you used to create or install the Skill:clawdi skill --help, clawdi push --help, and clawdi pull --help for
current source and target options. See Projects and
sharing before distributing a Project Skill.